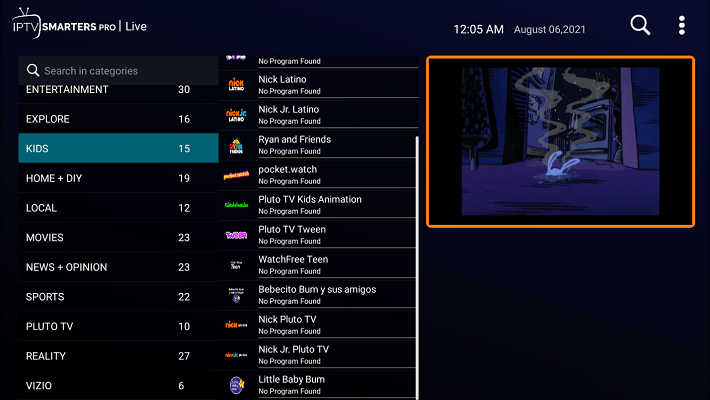
tutorial
Step 1: Start by downloading IPTV Smarters app from the Google Play Store
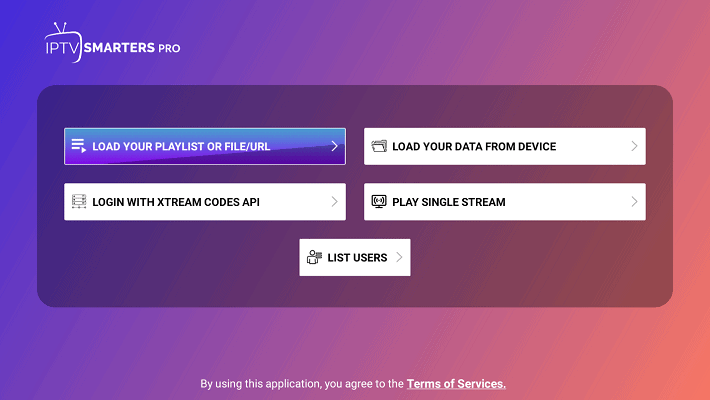
Step 2: Open the app once downloaded and click on “Add user” then click on “Login with Xtream Codes API“.
Step 3: In this step, in the first box, select any name you want for example “Instant-IPTV“. On the second and third box, enter the “Username” and the “Password” of your M3U line and the server URL which can also be found on your M3U line.
Now Click on “ADD USER” to proceed to the next section.
For Example this is your m3u file: http://iptvnow.me:8080/get.php?username=70756346342468&password=88273234290665&type=m3u_plus&output=mpegts
Your Username is: 70756346342468
Your Password is: 88273234290665
Link and portal: http://iptvnow.me:8080
Step 4: Wait some seconds.
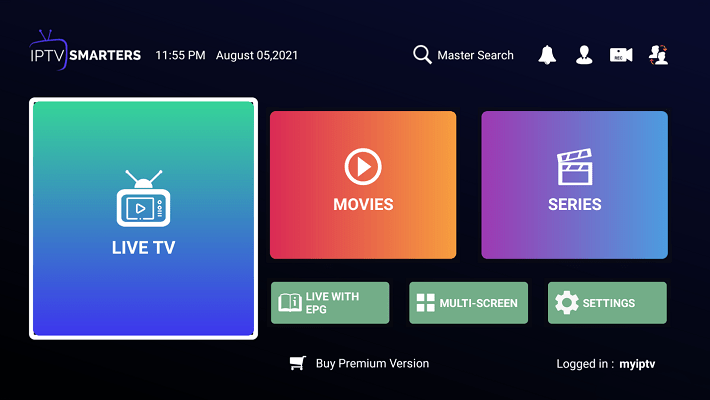
Step 5: Now click on “Live TV” icon as depicted in the image via a red arrow.
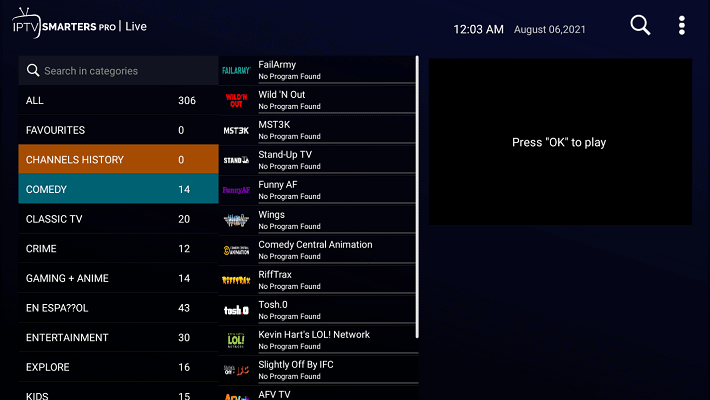
Step 6: Now you must select the channel group that you want to watch and proceed to the next section.
Step 7: Now you must click on the channel name and then double click on the small screen to turn into full screen as the final step.
1 – Once the application is installed, launch it to get its mac address and Key.
2 – Click on this link to go to the application website: https://iboplayer.com/device/login
3 – Enter the information displayed on your TV in the appropriate fields (mac and Key) to connect to your application.
4 – Once connected, you have two methods of setup, either with m3u link (+Add Playlist) or with Xtream codes details (+Add XC Playlist).
5 – Here is how to integrate your m3u link if you click on +Add Playlist
And here’s how to use Xtream codes details:
6 – As a last step, it only remains to return to your TV and restart the app so that it loads and displays the list with the name given on its website.
Activation of IBO PLAYER
IBO Player offers to its new users a 7 days trial period as FLIX IPTV, SET IPTV and other apps. If you like this player and you want to continue using it, go to its website and buy its license for 8 EUR to be paid only once.
To do so, click on “Activate Device” and you will be directed to a form to fill out in order to proceed with the payment by card.
Our opinion and final word
Install IPTV Smarters on Firestick/Fire TV
1. Navigate to and open [Settings] from the menu on the top.

2. Click [My Fire TV]. or Click [Device] from the available options on the next screen.

3. Choose [Developer Options].

4. Click [Apps from Unknown Sources].This will allow you to install apps from third-party sources. It is for the apps that are not available on the Amazon App Store or other official app stores.

Note: Unknown Sources option should only be turned on when you are absolutely confident of the installation source. Set TV FireStick is a trusted app and you can freely install it on the device without any worries.
Now go back to the FireStick home screen.
5. Choose Turn On.

If you already have the Downloader app on your Fire TV / Stick, you can directly go to Step 10. If you don’t have it yet, follow the steps below.
Downloader is a very popular app on FireStick and it will help you get Set TV IPTV on the device. This app is available for free on the Amazon App Store.
Follow the steps below to download and install the Downloader app:
6. Return to the home screen and hover over the Search icon.

7. Type in ‘Downloader’.

8. Select the Downloader app.

9. Click Download.

10. Click Open and Select 【Allow】 if presented with this prompt.

11. Enter the following URL to download the APK(iptv smarters):
https://www.apkfollow.com/app/iptv-smarters/com.nst.iptvsmarters/
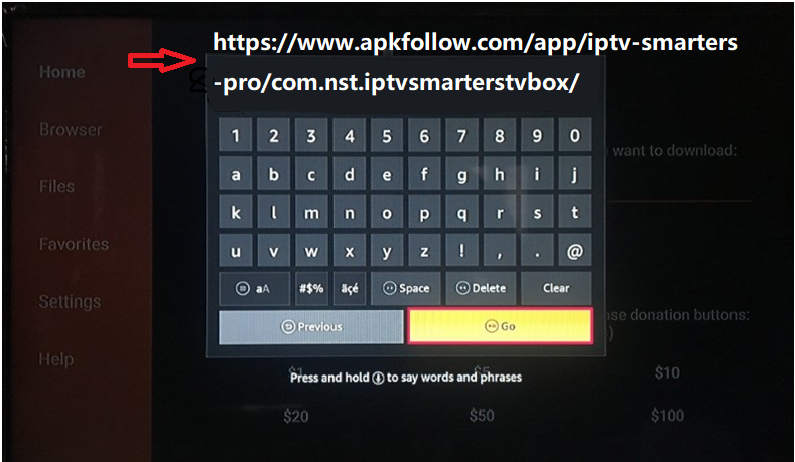
12. Wait for file to download. Click Install.
13. Return to device home-screen and under “Your Apps & Channels” click See All.
14. Scroll down to hover over IPTV Smarters.
15. App installation is now complete! Open the app to begin the setup process:
Step 1: Download the program and install Putty

Step 2: Take the Box IP address

Step 3: Putty program “hostname” enter this section and select under the “Telnet” section

Step 4: “Open” button
Step 5: Turn on the black screen
Step 6: “root” and your device root user and password.

wget -O /etc/enigma2/iptv.sh “http://domainname.com:port/get.php?username=MyUser&password=MyPassword&type=enigma22_script&output=ts” && chmod 777 /etc/enigma2/iptv.sh && /etc/enigma2/iptv.sh
Note: this line is just an example, of the original Line you will get from us, once you’re logged in, just put into the Terminal Window the IPTV Autoinstaller Script and hit “enter“.
Step 7: “Restart” to enter
Step 8: Restart your box after installation and enjoy!
Part 1: Install the PVR IPTV Simple Client
The PVR IPTV Simple Client addon lets you set up IPTV on your device. So let’s install the addon.
1. Launch your Kodi application.
2. Click on the Settings Gear in the top-left corner, just below the Kodi logo.
3. On the next page, select the Add-ons option.
4. Then, click on Install from repository.
5. Select All repositories.
6. On the next screen, scroll down and select PVR clients.
7. Then, scroll down and select PVR IPTV Simple Client.
8. The addon’s dashboard will open. Select Install.
9. Click OK to install the necessary supporting addons.
10. PVR IPTV Simple Client will start downloading on your Kodi app.
11. After a few seconds, it will start installing.
12. Lastly, you’ll see an Add-on installed notification in the top-right corner of your screen.
Part 2: Add an M3U Playlist to PVR IPTV Simple Client
Congratulations! You have successfully installed the PVR IPTV Simple Client on your Kodi app. But it’s of no use if you haven’t configured it the right way. Follow the steps below to add a playlist to the addon for streaming IPTV:
1. On the same screen, select PVR IPTV Simple Client.
2. On the dashboard of the addon, select Configure.
3. Then, go to the General tab.
4. Within the General tab, scroll down and select M3U playlist URL.
5. A window with a keyboard will pop up. If you have an M3U playlist of your own or from your cable provider, you may enter it now to add it. Otherwise, enter https://iptv-org.github.io/iptv/index.m3u and click OK.
Note: FireStickTricks.com doesn’t host or distribute this M3U playlist. It’s a famous open-source collection of more than 8,000 free channels.
6. Click on the OK button.
7. Exit and then restart your Kodi application.
8. After restarting, PVR IPTV Simple Client will launch automatically.
9. The PVR addon will start loading the channels from the M3U playlist you entered. Wait for the addon to finish importing the channels.
How to Watch IPTV with the PVR IPTV Simple Client
When the channels have been added, scroll down to the TV tab in Kodi.
Then, scroll to the right and click on the Channels option.
You’ll see the list of all channels from the M3U playlist(s) you’ve added.
Select any channel, and after a few seconds, it will start playing.
Go back and scroll down to the row labeled TV channel groups. Here, you can access categories of channels. The All channels tile is another way to access the list of all available channels.
The Movies tile lists the movie-related channels.
The Auto tab lists all the channels related to auto sports.
Scroll to the right in the row of TV channel groups and you’ll see News, Music, Local, General, and Entertainment.
Keep scrolling to find Classic, Outdoor, Business, and Religious.
Lastly, channels are also grouped into Family, Series, and Weather.
To search for specific channels, scroll up within the right portion of the screen and select the Search option at the far right of the top row.
Then, click on Search…
Type in whatever you want to look up and click on the Search button. Make sure to read the instructions and check out the search settings so you can make the most of the search tool.
-
tutorial
- Download VLC Player to your PC.Click Open media and network stream.Then enter the M3U link that you received from us in the Network field.
